Quizzes catch the eye of your website visitors and social followers because they provide something they can engage with, personally benefit from, and experience for themselves. They differ from every other type of lead magnet because everyone who takes your quiz has their own experience with your quiz and it’s connecting on an individual level.
Let’s walk through the setup process if you are at a stage where you’re looking for a lead magnet to convert your traffic into leads. In my experience with customers, this usually starts to happen when you reach a point where you have more people coming to you than you can manage to meet with individually.
That’s when businesses start to look for ways to automate some of they conversations that they might otherwise have 1:1 with customers. If you’re not at that point yet, it’s okay to invest in a quiz up front, but keep in mind that I have seen businesses that talk to every customer for as long as they possibly can be more successful in the long run because they can really learn what their customer need before trying to automate.
We will go through step by step on how to think about creating your lead magnet quiz from scratch, but if you’d prefer a more assisted setup process, I wrote all of this into an AI that can help you.
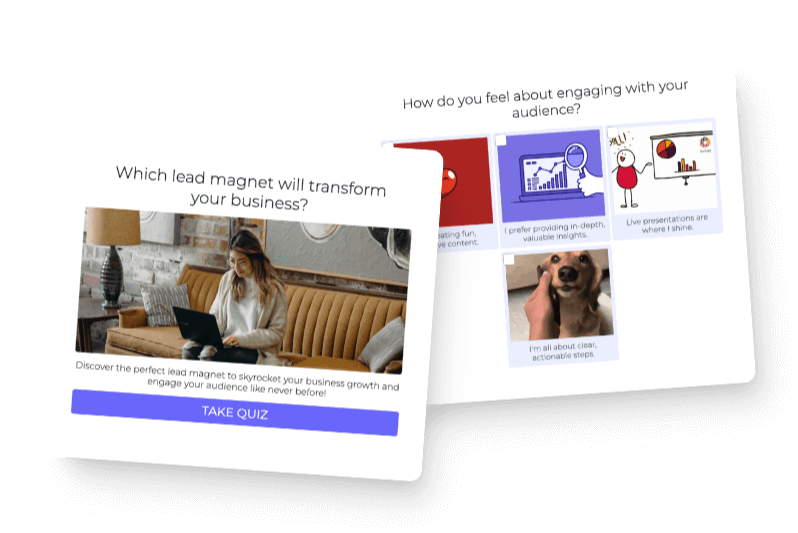
Make Your Quiz Lead Magnet
Use our AI assistant to speed up the process
Quiz Idea: What do customers want to know?
The first thing to do when creating your quiz is to take a step back and think about what your customers are thinking about. Depending on your business, this could be very direct, or very existential, let’s talk through each scenario. I’m going to start with very existential because that one is most confusing.
Very Personality Driven: Who Am I? Am I Doing Good?
At the highest level people are constantly asking themselves two things. First off, Who Am I? And Second, “Am I doing good?” now in your case with your quiz, you want to adapt these questions to the specific use case of your business.
Here’s an example of the “Who Am I?” question from Harley Jordan. Harley helps people develop personal brands based on their personalities. The quiz is titled “Are you a Bunny, Deer, Cat or Fox?” which is intriguing, much more so than “What’s your personal brand style?” that the quiz reveals underneath the curiosity aspect of the title.
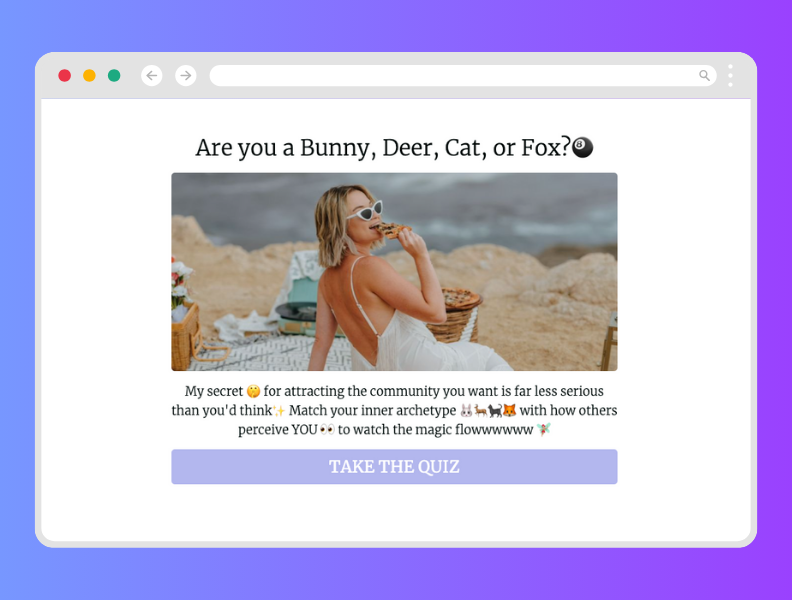
You can also see how the description of the quiz makes the question of “Who Am I?” relevant to Harley’s business. She gracefully transitions the topic from which animal you are to how that matches up to growing your business.
This approach works best at the very top of the funnel, on social media or through PR. It can work on a website but typically people visiting a website are further down the awareness funnel so a pure personality quiz might be too high level for where they are.
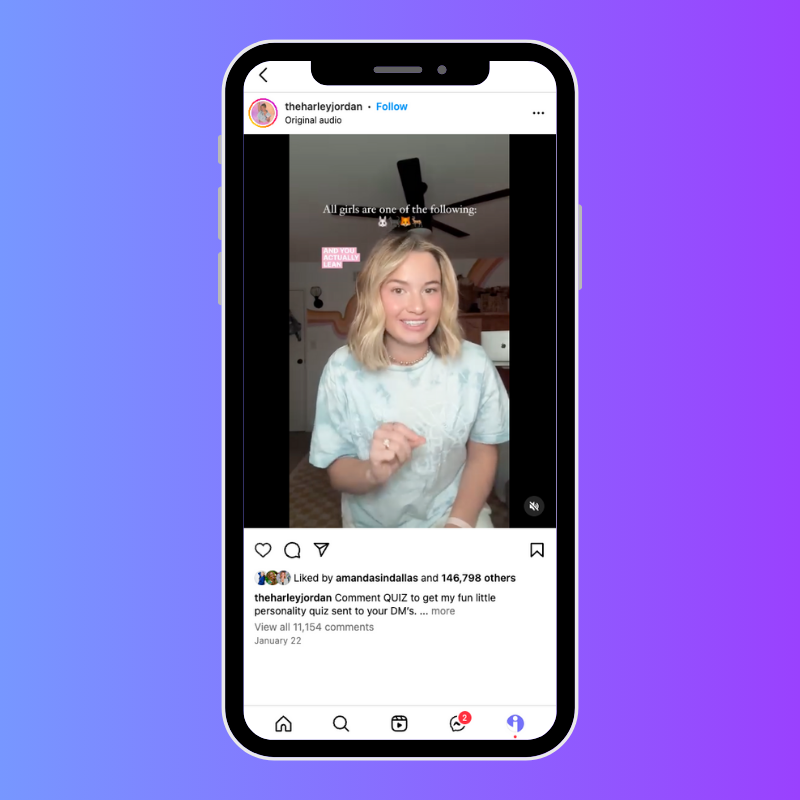
Here’s what it looks like as an Instagram Reel that links to the quiz using a ManyChat automation which sends the quiz link if you comment “Quiz”
Somewhat Personality Driven: What’s my personality type?
The difference between “Very Personality Driven” and “Somewhat personality driven” is that very personality driven only focuses on personality, then ties in to the business using the description. Somewhat personality driven uses the business purpose in the title of the quiz itself. So it’s still personality driven, but obviously about a particular topic related to the business that created the quiz.
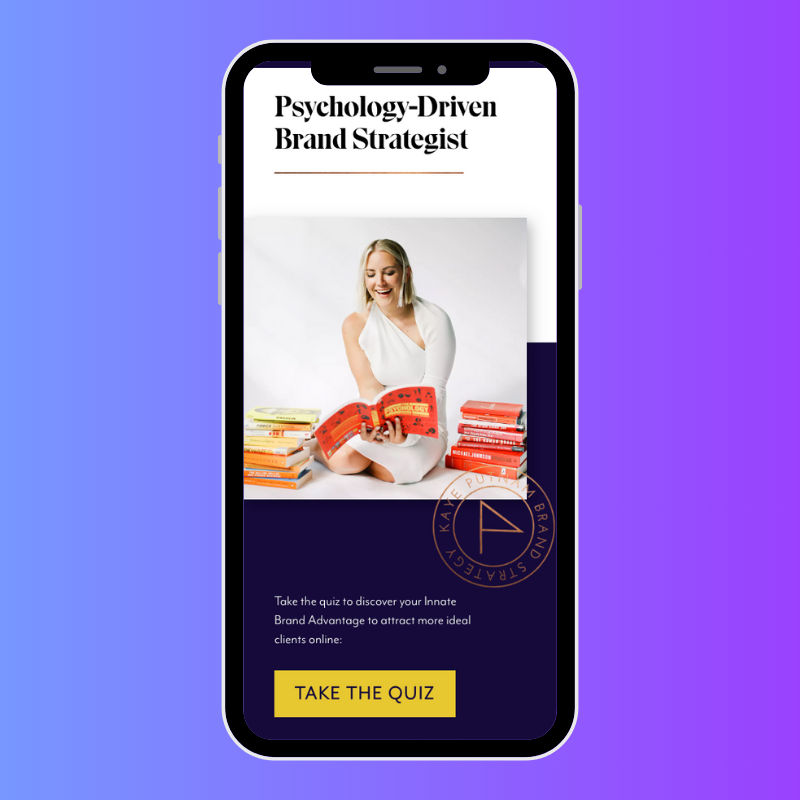
Here is an example from Kaye Putnam, her quiz is titled “Brand Personality Quiz” so it’s definitely personality-driven but also clearly about branding, which is her business.
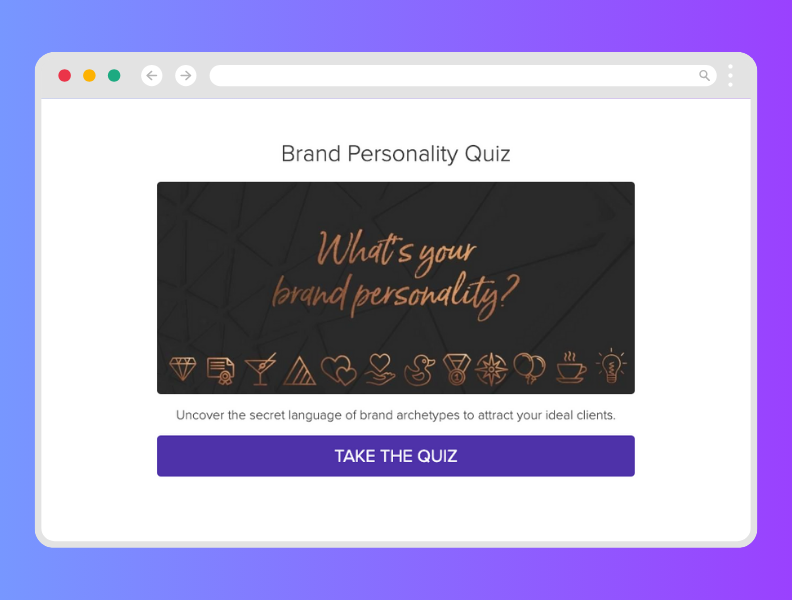
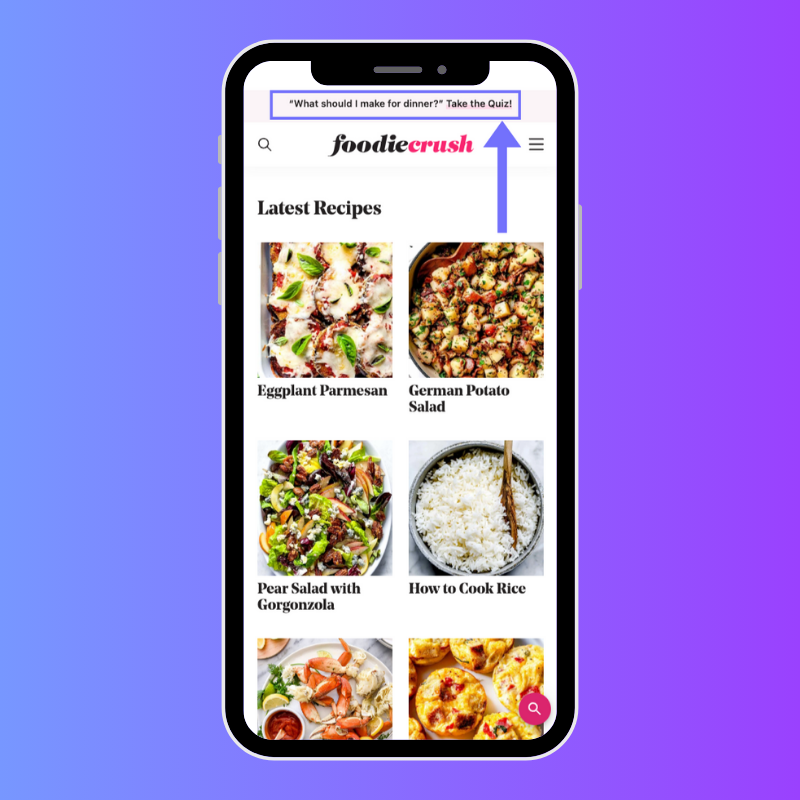
This approach works best on your website or link in bio. Personality driven quizzes exist at the higher end of the mid-funnel of customer acquisition. Here’s what it looks like on Kaye’s website, you can either go with this approach where the quiz is the primary lead magnet on your website or you can make it the secondary lead magnet as a header notification or menu item in your primary menu.
Direct: Which Product/Service is Right for You?
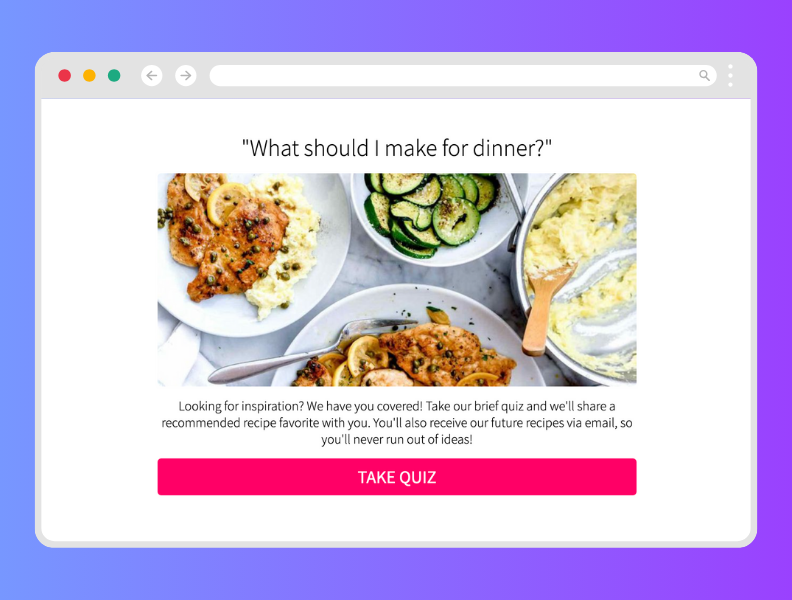
When the direct approach is best, you literally make a quiz titled “Which (Product/Service/Content) is right for you?” These types of quizzes exist when people are already aware of a need and you are helping them find the right thing to solve their need. Here’s an example from Foodiecrush.com where they have a quiz that helps you find out what to make for dinner.
They are a recipe site, so this quiz is asking the question “Which of our recipes is right for you?” and in this case the recipes are the product being offered.
This type of quiz is also going to be promoted on the website and link in bio. If you’re choosing between personality driven and direct, it’s best to think about the way your customers think and adapt to what works for them. If your customers are cut-to-the-chase type people then do the direct approach, if your customers like to make decisions based on their unique approach to the world then choose the personality driven approach.
E-Commerce Adaptation: Very Personality Driven
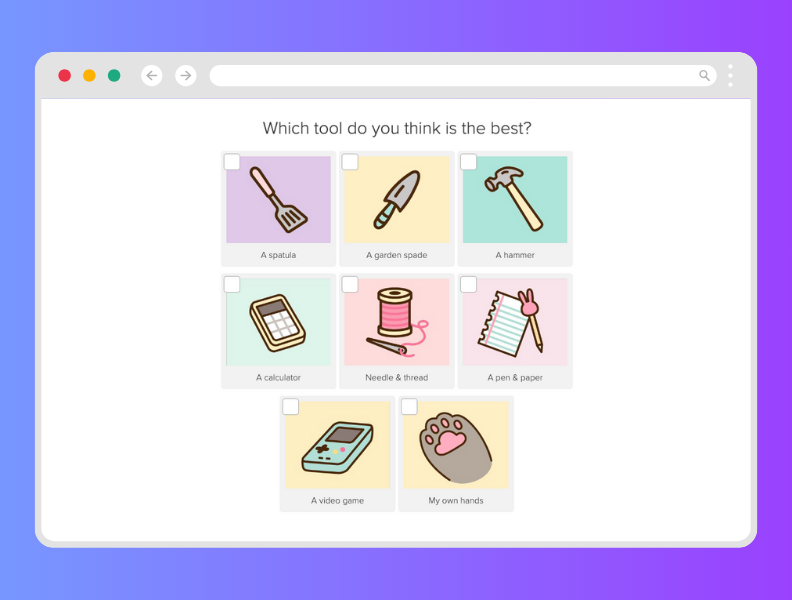
Personality quizzes work well in E-commerce too. Take Pusheen as an example, they have a whole bunch of awesome personality-driven quizzes that lead back to their products but in an indirect way where the products are associated with personality types so it’s an individual, unique fun experience for each person who takes one of their quizzes.
E-Commerce Adaptation: Somewhat Personality Driven
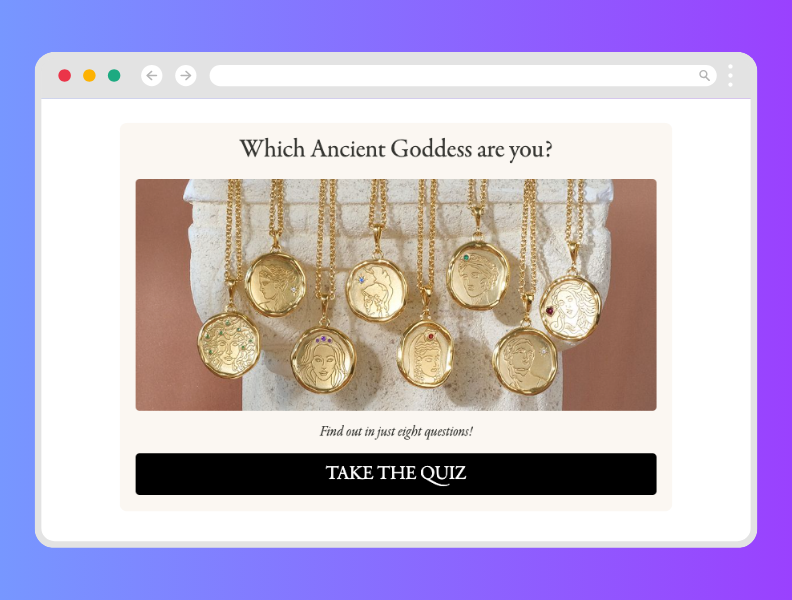
You can also make product recommendation quizzes that are a hybrid of personality and straight product recommendation. The example below from Common Era perfectly pulls this off by having a quiz that is personality based but there is also a set of products recommended for each personality type.
E-Commerce Adaptation: Direct
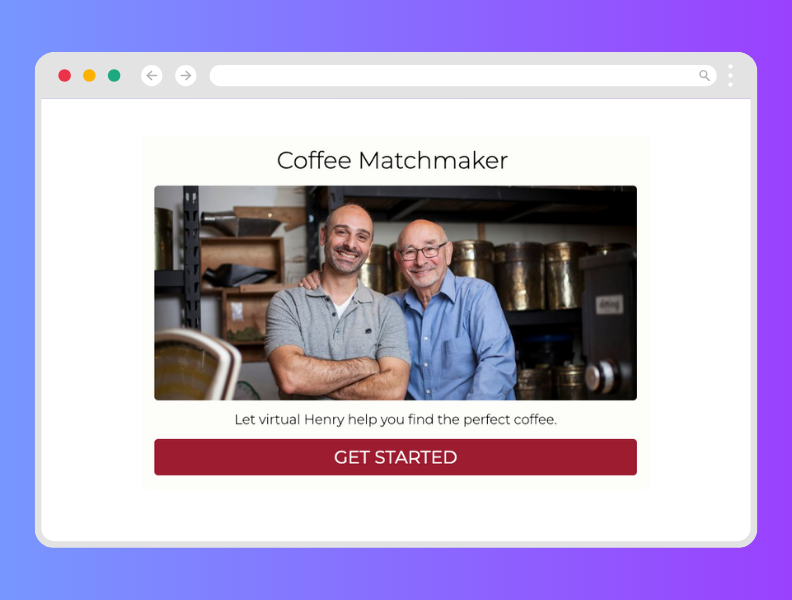
You can also go straight to the point and make an E-commerce quiz that very much is meant to help people find the right product for them based on their preferences and choices. The example below from Henry’s House of Coffee is perfect for this. They want to help people by matching them with the right coffee based on who they are as people and what they enjoy about coffee.
Assessment Based Quiz
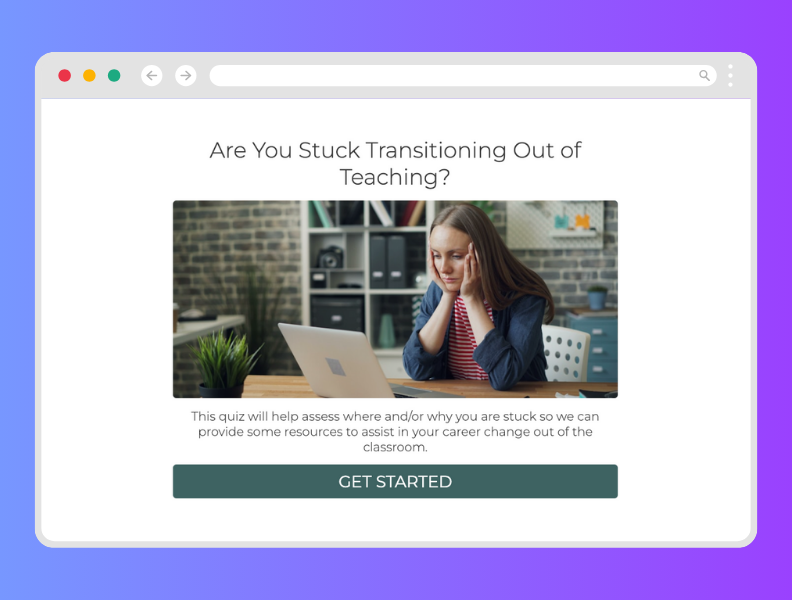
This type of quiz appeals to the human desire to know how we measure up. You can challenge people with an assessment style quiz if that’s what your audience prefers. Sometimes people enjoy a challenge, especially if your audience has any sort of competitive streak in them, and you can tap into that with an assessment quiz.
Quiz Questions: What do you ask quiz takers to get them primed for becoming leads?
If there is one misconception I see the most about quiz lead magnets it is this. People think that quizzes generate leads just because they are quizzes. Nothing is further from the truth. In reality, what makes quizzes so effective for generating leads is that they emulate a conversation. If your potential leads enjoy the conversation and you present them with an opt-in form at the end of the quiz, then they will likely opt-in. I wrote a ton about this subject in my complete guide to quiz creation here. The summary is that you want your quiz questions to help people feel comfortable with you and understand that you can actually help them get what they want. That way when you ask them to opt-in so you can continue to be helpful to them, it’s a natural transition.
Let’s quickly run through the types of questions you can ask within a quiz to build a connection with your quiz takers.
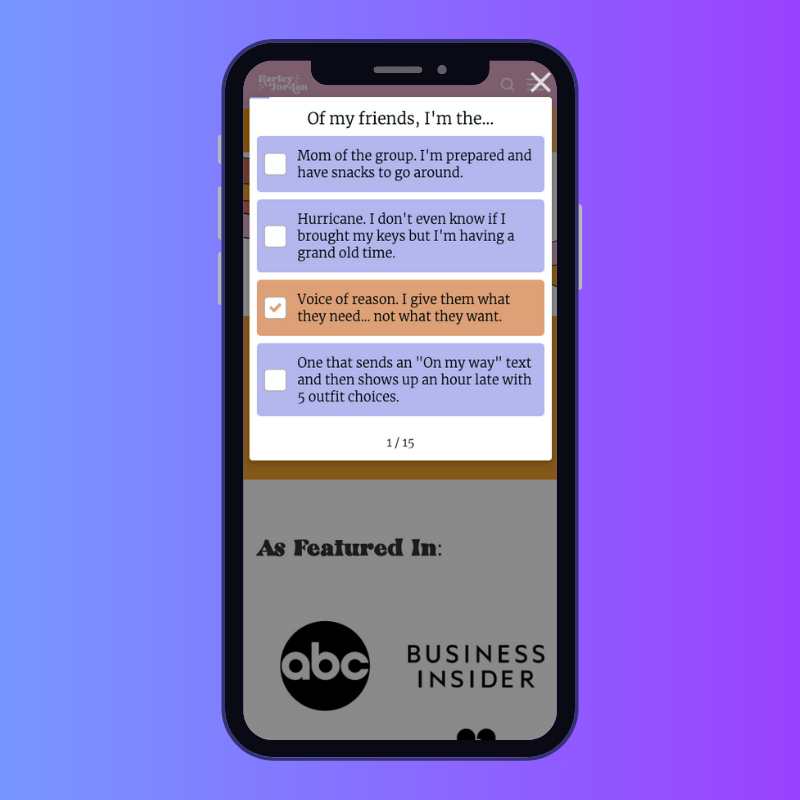
Very personality driven questions
This type of question asks a question directly to a human being in a personal way that mostly focuses on their aspects of humanity. You can use it to inform any type of quiz because it gives you context about who the person is.
Somewhat personality driven questions
You can ask questions that are a hybrid. These types of questions generally anchor on psychographic details like preferences, choices, and interest. But they mix those questions with something more personal so the question doesn’t just feel like it’s for profiling.
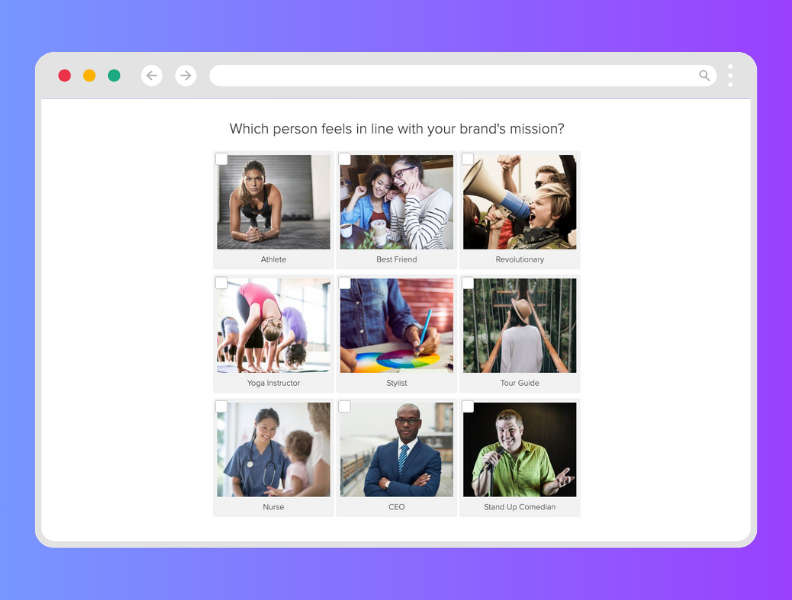
Direct Questions
A versatile tool in the quiz question toolbox, a direct question helps you gather data very quickly that you can use to infer which quiz result someone should get. You can also ask these types of questions just to gather information.

Quiz Lead Generation Form: What do you promise people to maximize leads from your quiz?
I wrote a full post on how to write your quiz opt-in form to maximize lead generation. But an overview here is the following. You want the reason why someone would opt in to be a continuation of what they experienced within your quiz. If they had a good experience taking your quiz and talking with you through the quiz questions, then they would be interested in continuing to hear from you via email. So all you have to do is ask nicely, and let them not opt in if they are not interested. Your email list health will thank you later.

Quiz Results: What do you show people at the end of the quiz to drive sales?
I wrote a lot more about creating results here. But the best way to write your quiz results is to put yourself in the shoes of the quiz taker and think about what would be satisfying to you if you took your quiz. What would you want to know, how would you want to be spoken to, what would make you feel good about moving forward working with the creator of the quiz?
The way results work on a quiz is that you create a set number of quiz results that are the most common solutions for the question you posed in your quiz lead magnet title. Each result has a different most common answer to the question that helps the quiz taker with a personalized solution.

Next Steps
After you’ve got your quiz lead magnet set up, you’ll want to promote it following these instructions. Then you can build out a full set of quizzes to use in your content marketing strategy following this guide. Quiz lead magnets are simple but powerful, and if you implement them into your business they can truly change your growth trajectory for the better.