
Next up in our AI content creation review series is how to write blogs with Rytr AI. We started this series on a mission to learn and review all the different AI platforms out there. We know how tough it can be to stay on top of content creation, and through this series, we hope to make blog writing easier for you.
We’ve explored a myriad of AI platforms for content creation. When you finish here, check out our video series and blog series for more tutorials and reviews.
Table of contents
- Step 1: Getting started with Rytr AI to write blogs
- Step 2: Generating a blog post
- Step 3: Create your blog paragraphs
- Step 4: Lengthen your Rytr AI blog
- Step 5: Use the Rytr rephrase feature
- Step 6: Use Rytr AI images
- Step 7: Use Rytr AI shortened paragraph feature
- Step 8: Format your blog you wrote with Rytr AI
- Final Thoughts on writing a blog with Rytr AI
Step 1: Getting started with Rytr AI to write blogs
We immediately noticed the similarities between the Rytr and Jasper AI homepages. Both websites flip out different types of content for which you could use that AI platform.

First, click the orange circular button in the center of the screen called “Start Ryting.” Log in to create a free account.
Once you’re set-up, you’ll land on a new page with a YouTube video claiming Rytr has use cases and AI enhancements for human-quality writing.
After watching the video, we wondered how Rytr would differ from Jasper, Anyword, and ChatGPT. The blog posts we created using the other platforms were natural and human-like, but because Rytr specifically mentions this quality in the video, we are excited to see what it can produce.
Step 2: Generating a blog post
Time to write the blog! First, select your language on the left of the screen. We’re gonna stick with English for our post.

Next, select your tone through the drop-down menu. We found this drop-down menu to be limiting. We like how in some of the other platforms, like Jasper, we were able to type in whatever tone we wanted to match brand voice. We were also limited to just one choice through the drop-down menu. When we weren’t limited, we typed in “playful/fun” for tone, which wasn’t an option with Ryter, so we went with “informative.”

The next step is choosing a use case. So far, we’ve gotten the best results by starting with an outline—and so, we’re choosing “Blog idea and outline.” In our experience, when we ask AI to write a thorough outline, the outline itself ends up being a better blog post than when we ask AI to jump right into writing the blog.
Then click the orange “Click here” button, which will take you to different integrations that enable keyword suggestions and SERP analysis. These are nice features, but we are not directly testing them today.
We will be choosing primary keywords though. If you need help finding keywords, take some time to research the best keywords for your brand.
Since Rytr asks for one primary keyword, we used our blog title: “Top 3 Must-Have Items for Every Traveler.”

You can also choose the number of variants or how many different versions of the text you want the AI to produce. We chose two variants so we can compare the blog posts. For the creativity level feature, we chose “High.”
Finally, click “Ryte for me,” and your blog outline will quickly appear.
Step 3: Create your blog paragraphs
Immediately notable features of the blog:
- The blog outline generates quickly.
- Rather than just three essential product items, Rytr gives users three essential items or keywords per section. Other platforms only included three essential items for the entire blog.
- This is the first time we’ve seen an inflatable neck pillow as an essential item.

Rytr also gives users a helpful tip:

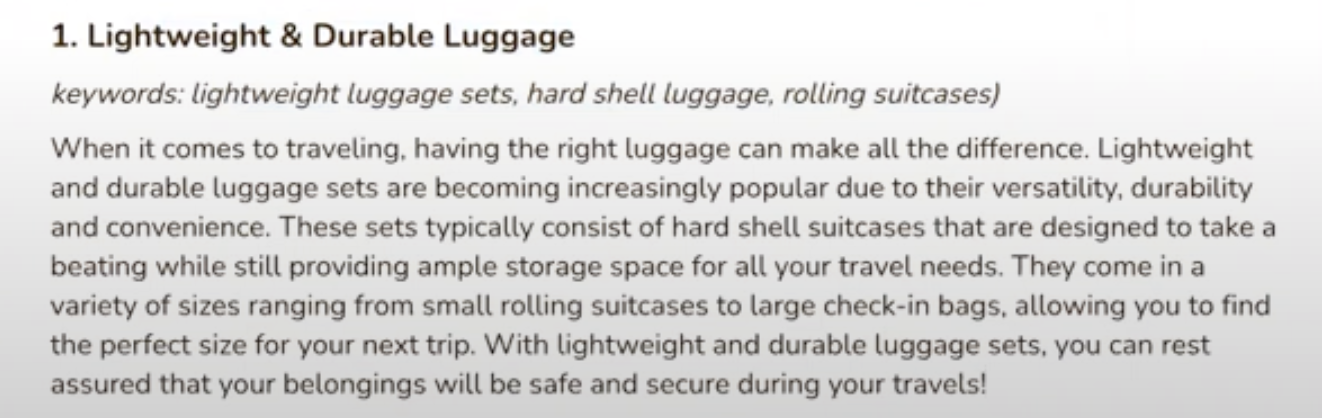
The first outline item is “Lightweight and durable luggage,” and we wanted Rytr’s AI to expand on it by writing a paragraph. To do this, we highlighted the title of the section, along with the keywords, and clicked “Paragraph.”

Rytr’s AI then wrote a relevant paragraph in no time at all.
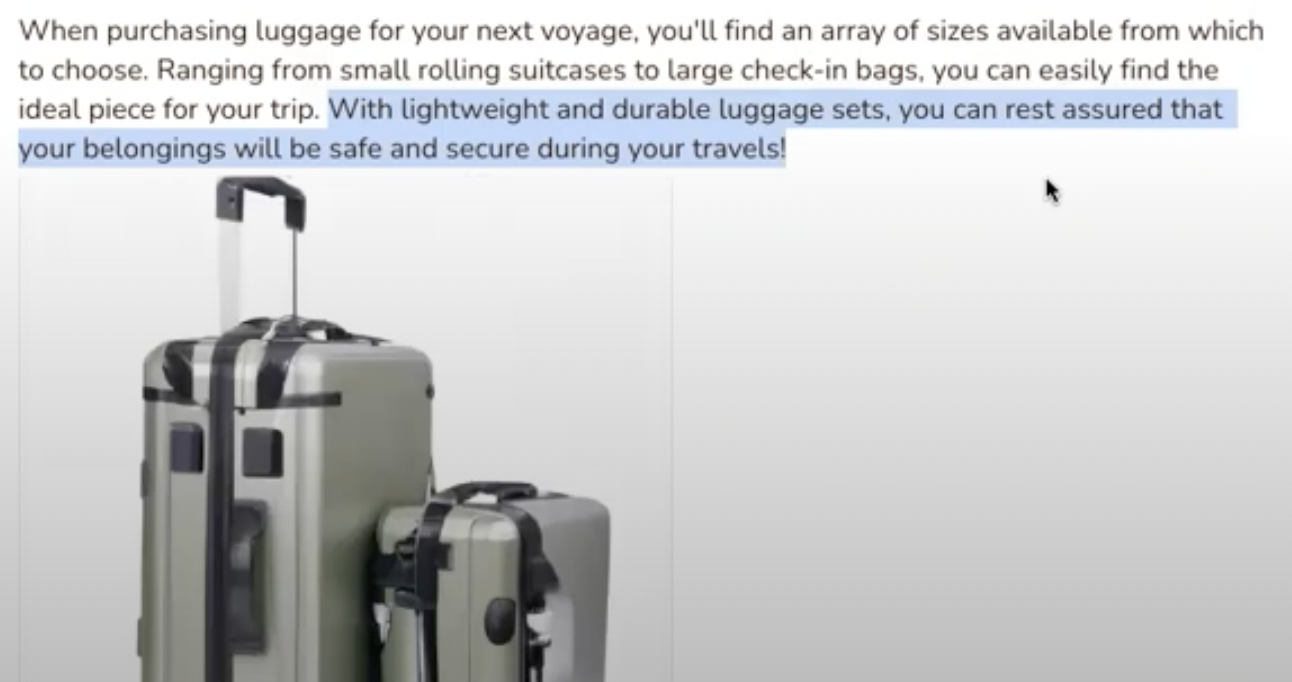
Step 4: Lengthen your Rytr AI blog
Another one of Rytr’s great features is that you can expand on one sentence by highlighting it and clicking “Paragraph.”

By doing this, Rytr will write a new paragraph about the sentence you selected and insert the paragraph in the middle of the first section. The formatting is incredibly intuitive, and Rytr does everything for you.
This feature will efficiently lengthen your blog so you end up with something similar to this:

You might notice that the middle paragraph, which stemmed from the highlighted sentence, is not super informative. This is interesting because we chose an “informative” tone from the drop-down menu, but it feels like we’re repeating the same content.
This isn’t a deal breaker because we can always go in and edit the text to include our own expertise. For this blog post, we could include content that speaks to a specific piece of luggage, add an affiliate link, or share what luggage we use when we travel.
Step 5: Use the Rytr rephrase feature
Another feature we love is the rephrase feature. When you highlight a sentence and hit “Rephrase,” Rytr will generate an entirely new sentence. We gave this a try and liked the new sentence better.
We started with this sentence:

And after Rytr rewrote it, we ended up with this sentence.

Note: You can also rephrase sentences in the other AI platforms we’ve reviewed. However, you have to prompt the AI to do it. Rytr is unique because you can select a specific sentence and rephrase it directly in the blog outline.
Step 6: Use Rytr AI images
Next, we tested the AI image feature. To do this, highlight a sentence and click “AI Image.” An image will populate directly under the sentence, which can be nice, but if you want to use your own image and not one generated in AI, this might not be a useful feature for you.
If you don’t have your own photos already, this feature is an excellent option to try. You can ask ChatGPT what type of image you should insert, but that platform does not actually give you the image itself.
Step 7: Use Rytr AI shortened paragraph feature
Using the shortened paragraph feature was difficult as there was a word limit for how many words the platform could shorten at once. We recommend just going in and editing a paragraph to shorten it—unless you want to shorten one sentence at a time using this feature in Rytr.

Step 8: Format your blog you wrote with Rytr AI
Another notable feature in Rytr, which Jasper also had, is that you can play around with the article’s formatting.

When your blog is all where it should be, you can simply copy and paste it wherever you plan to post the blog. This is extremely helpful because you won’t have to reformat the entire blog before posting.
Final Thoughts on writing a blog with Rytr AI
We recommend Rytr for somebody just starting with AI, especially first-time users. Rytr is more basic, intuitive, and user-friendly than Jasper and Anyword.
Once you generate a blog, you can start highlighting specific sentences and choose a particular feature or action until you’re happy with it.
In ChatGPT or OpenAI, you have to re-prompt the platform for it to rewrite text. For example, users have to ask ChatGPT to write the outline and then ask it to fill in the outline. With the click of one button, Rytr automatically fills in the outline.
We also like the image option and how you can insert an AI image where you want. Another great feature is that you can open the blog in a separate larger window, and then also reopen it on the previous page and continue editing.
The only part of Rytr we did not love was the limiting tone options in the drop-down menu.
We slightly preferred this platform over Jasper. The platform is customizable and straightforward, allowing new AI users to create unique and exciting blogs.
Editor’s note: This article was reworked from a transcript by Sophia Stone, Interact Marketing Intern