Quizzes are a great way to generate consistent leads from Pinterest in 2026. Using the Interact quiz platform you will enjoy an average conversion rate of 40% on quizzes you create. There are a few simple guidelines to follow in order to maximize your lead generation from Pinterest with a quiz.
1. Make a Pin for Your Quiz
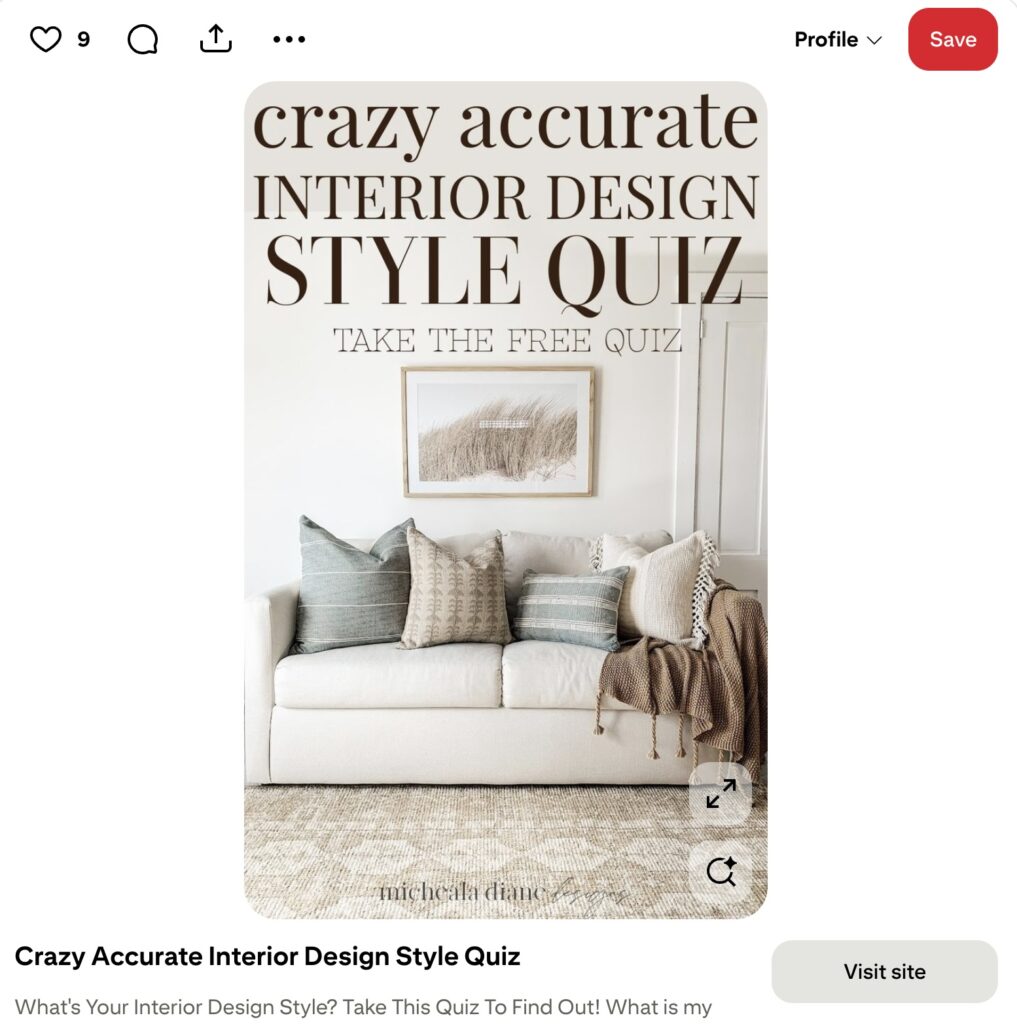
The pin should be simple and use a single image. This performs the best. Your pin title should match the quiz title, and your pin description should be a brief description of the value someone would get from taking your quiz.
The example below is a quiz from Micheala Diane Designs who uses Interact to host her Interior Design Style Quiz.
2. Optimize your quiz for the highest conversion rate
Interact quizzes already have the highest overall conversion rates of any quiz platform, averaging 40% conversion from quiz taker to lead. But there are a few specific things to keep in mind for Pinterest Lead Generation quizzes to make sure you get the most leads.
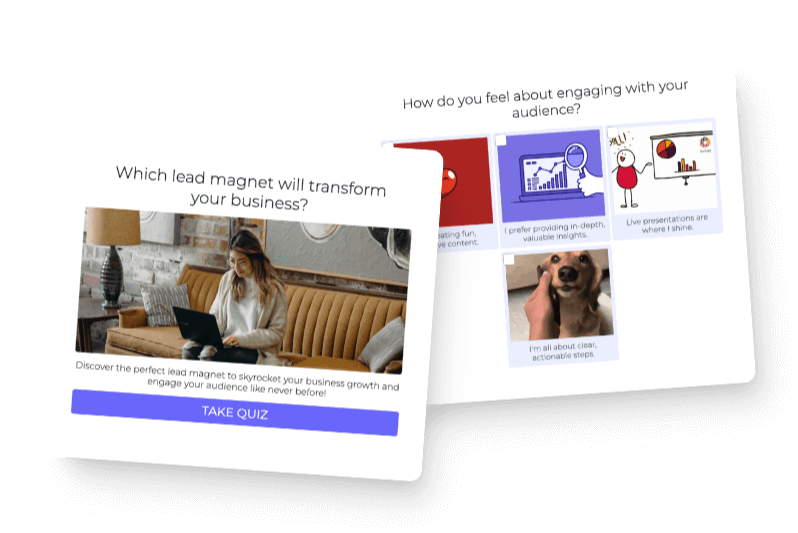
Use lots of images for your quiz. Add a visually appealing cover photo, use image answer choices for your quiz questions, and use images for your quiz results. Pinterest is a highly visual platform, so you want your quiz to also be highly visual.

Ask questions people want to answer. Ask people about themselves, their preferences, their tastes, their style. This way people will want to answer every question of your quiz, and as they go through the quiz they will get more and more interested to know their quiz result.

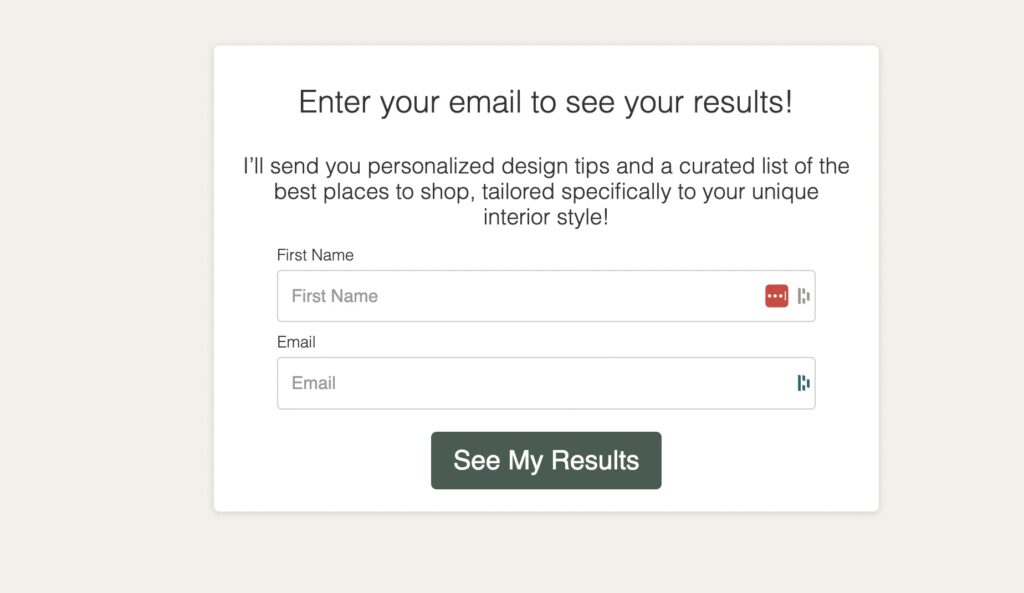
Ask for an email lead at the end of your quiz. Lead generation at the end of your quiz is the most effective and highest converting place to ask for a lead in a quiz. This is because people have already taken your quiz and are very curious to know which result they got. You will also get higher quality leads putting the email capture form at the end of your quiz because the only people who see it are the people who have answered the quiz questions and are at least interested in knowing more.
3. Segment and Follow Up with New Quiz Leads Automatically
With Interact you can automatically segment and follow up with new leads using direct integration to your email marketing software. This way, people who opt in at the end of your quiz can get their results in their inbox. Your welcome email should contain the person’s exact quiz results so they know to associate your emails with them having taken your quiz.

Important Points for Pinterest Lead Generation Quizzes
- The most important thing to remember for a successful lead generation quiz on Pinterest is to ask yourself “Would my target audience want to take this quiz?” There will be lots of other things for your target audience to click on and engage with when they are scrolling Pinterest, so making sure your quiz is something your audience would want to take is the number one thing that will make it successful for generating leads.
- Additionally, make sure every screen of your quiz (the cover page, the questions, the lead generation form, and the results) is visible above the fold on mobile devices. Most people take quizzes on their phones, so you want to make sure you can see the whole quiz on a phone. Interact is set up to automatically format your quiz in this way, and the main thing for you to watch out for is to not make the text too long on your quiz.